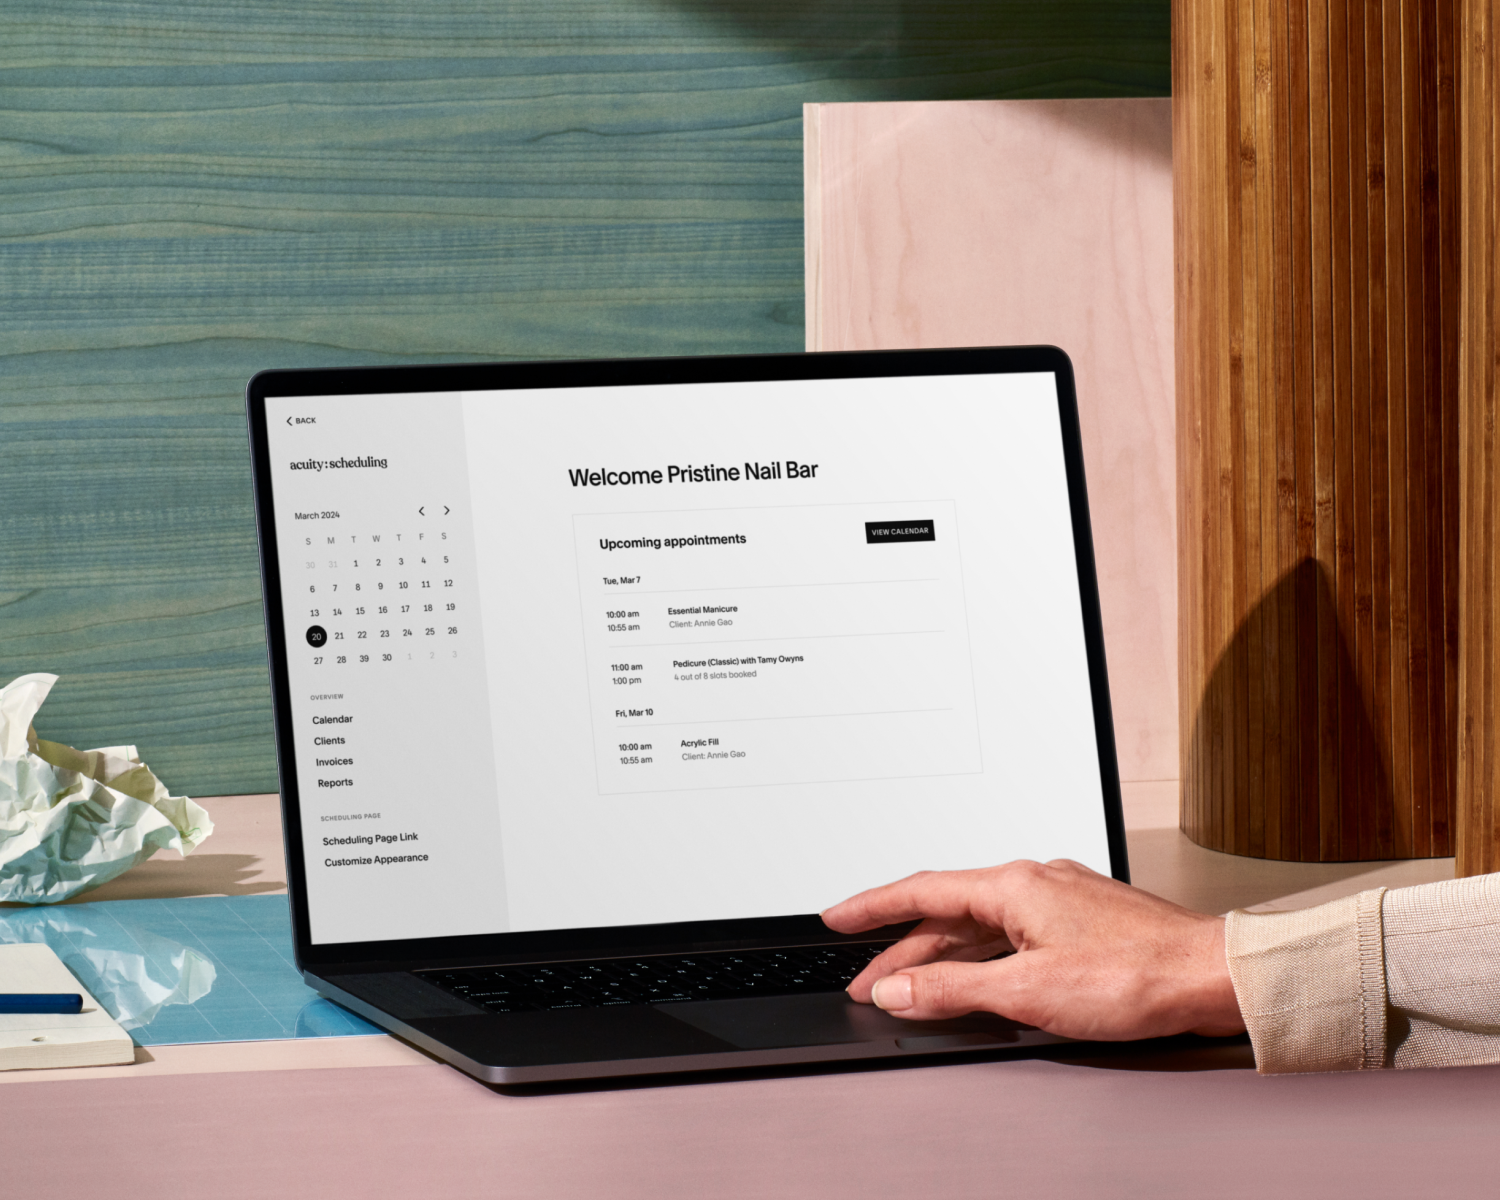
Tutorial: Managing Availability and Calendars

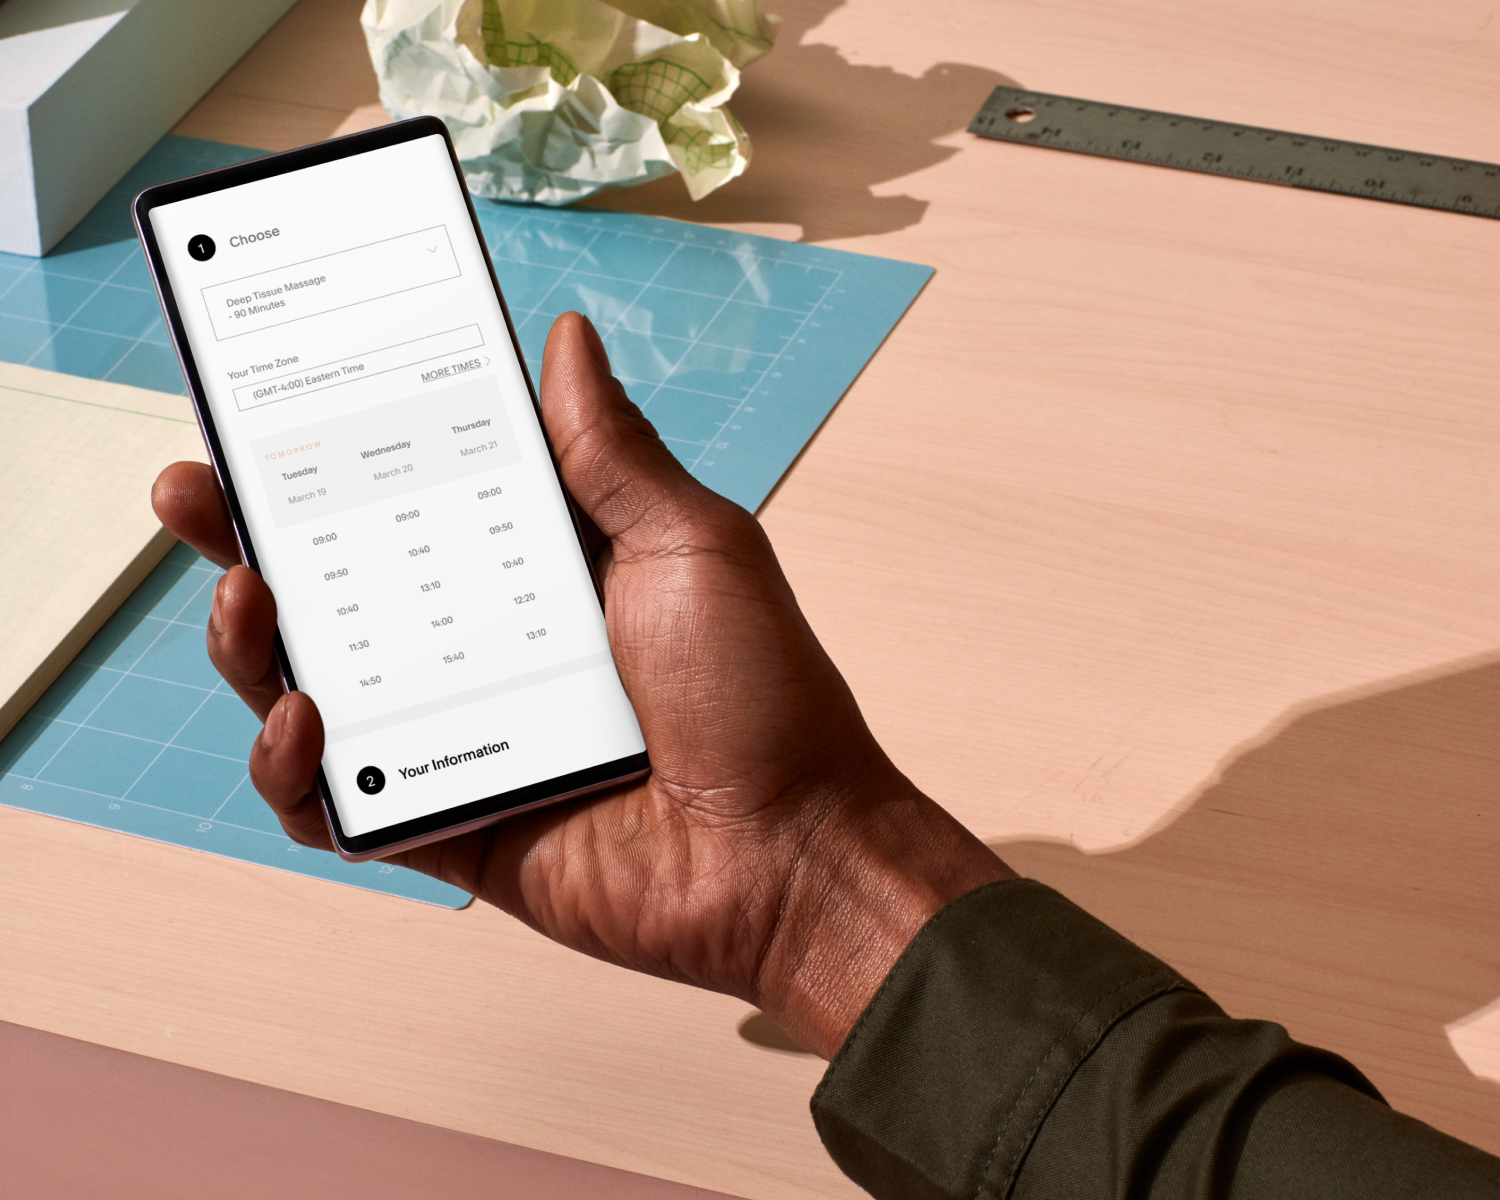
When Acuity shows your clients open appointment times, there are several settings that work together to ensure you're available:
Availability: The exact times that you’re available to see clients.
Appointment type duration: The length of time each appointment takes.
Scheduling limits: Settings that restrict bookings, such as having a maximum number of appointments per week.
Controlling your availability
For full control over your schedule and when clients can book time with you, set your hours for each calendar. If your calendar stays the same week to week, set regular weekly hours.
To do this, navigate to the Availability panel. Choose the calendar you'd like to edit, then click into Availability/limits. Make sure the regular hours option is enabled, then enter your hours in the fields for each day of the week. If you want your calendar to have different hours daily, you can disable the regular hours option and set the hours for each day.
Setting your scheduling limits
Use scheduling limits to choose if and when clients can book, edit, or cancel their appointments. Your scheduling limits determine how many people can book the same time slot, how far in the future clients can book, if you have a maximum number of appointments each week, and more.
There are two kinds of scheduling limits: global limits and calendar limits. Global limits apply to all of Acuity, while calendar limits apply to a specific calendar or to a specific group of appointment types on a calendar.
Managing one or more calendars
Each calendar in Acuity represents a separate set of hours when clients can book appointments. Some businesses only need one calendar. But if you have multiple staff members or locations, you can create individual calendars for each of them. Keep in mind that the number of calendars you can create depends on which subscription plan you're signed up for.
To add a new calendar from the Availability panel, click Add new calendar. Enter the calendar's name and any details you want to include. Add an email address or phone number to receive the confirmation, cancellation, and rescheduling notifications. Separate multiple entries with commas and save. Then select the appointment types on this calendar and save. Now set your availability and save. Set your calendar scheduling limits, save, and then close the editor.
How to edit your calendar with ease
You’re always able to make changes to your schedule. To edit an existing calendar, navigate to the calendar settings of the calendar you wish to edit. Then make your changes. Calendar settings is also where you can delete a calendar.
Support for every step of your scheduling journey
Still have questions? Visit our help center for more guidance on managing your availability and calendars within Acuity.
If you’re new here, start your free trial today.